
I bought this canvas tote on clearance at Target for just over $2 last summer. It was in the gift wrap section and measures 12"x9"x6". I thought it was super cute and would make a great tote for small craft projects I'm working on (mainly my embroidery I like to work on when Kaleigh is in dance class, waiting in the car line at school, etc.)
So I brought it home but thought it was a tad plain and needed some cute flowers on it.

I've seen lots of flower tutorials online and this is my own quick and easy version I created (although I'm sure I've taken ideas for it from here and there).
1. Cut five circles from felt - cut four the same size and cut one a little smaller.

2. We will use the four larger circles to make the petals. For each larger circle, place a tiny dab of hot glue just outside the center of the circle and fold in half like a taco. The glue will hold it loosely in this shape. (Kaleigh was my hand model for these photos. Excuse her dirty fingers and nails. We were knee-deep in crafting that day!)

3. Fold your *taco* in half.

4. Cut off the point of your folded *taco*.

5. Place a tiny dab of glue inside your folded *taco*. The glue will hold it loosely in this shape.

6. You should have four of these petals.

7. Glue the four petals to the smaller felt circle, spacing them so they touch the other petals on each side while leaving a small hole in the middle.

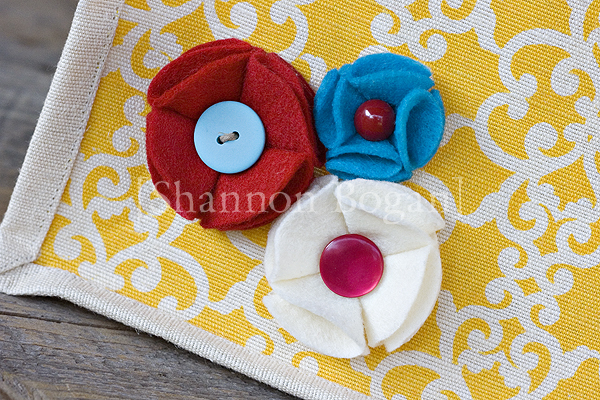
8. Put a good amount of hot glue in the center and attach a button. Ta da! You have a cute felt flower!

I made three flowers for my bag and hot glued them on. It looks so much cuter now!


Thanks for stopping by!

Love those flowers!! I don't work with felt enough, love the extra shape it adds to the flowers!
ReplyDelete